
How to Install the EasyChute: Step-by-Step Setup Guide
Knowing how to install the EasyChute correctly makes the difference between a clean, safe debris drop and a messy, unsafe one. This guide walks you through every step — from measuring your drop to folding the chute back up at the end of the job — so your crew can have the system running in minutes, not hours. No outriggers, no rental crew, and no special tools required.
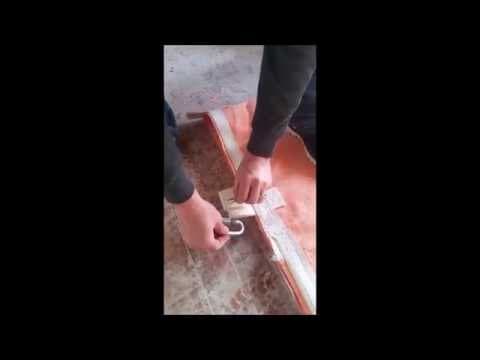
Before you start, watch the setup video below for a quick visual overview, then follow the numbered steps to get your EasyChute anchored, connected, and dropping debris safely into the dumpster below.
Shop EasyChute trash chutes

Free shipping on every order. See the full shop.
Watch: how to install the EasyChute
What You Need Before You Start
Gather everything on this list before you climb to the roof or upper floor. Having it all on hand means one trip up, not three.
- EasyChute sections — one or more, sized to your drop. A 10 ft section covers roughly one story; a 25 ft section covers about two and a half stories; a 50 ft section covers about five stories. Mix and match sections using the loop-to-loop connection system.
- Carabiners or quick-connects — to join the four woven loops at each connection point. Have a few extras on site.
- A solid anchor point — a window frame, roof edge, scaffold rail, or fire-escape railing. The anchor must be capable of supporting the loaded weight of the chute.
- A dumpster or debris bin positioned on the ground below the drop zone before you hang anything.
- Optional hopper — a standard 32-gallon commercial trash can with the bottom removed. Slip it over the top of the chute to funnel debris in cleanly and reduce dust.
- A helper on the ground to guide the bottom of the chute over the dumpster and keep the drop zone clear.
Step 1 — Measure the Drop
Stand at the anchor point — the window, roof edge, or scaffold level where the top of the chute will hang — and measure the vertical distance to the top of the dumpster on the ground. Round up to the nearest full section length. It is better to have a few extra feet than to come up short.
Remember the OSHA rule: if debris is being dropped more than 20 feet to any point outside the exterior walls of a building, an enclosed chute is legally required under OSHA 29 CFR 1926.252(a). EasyChute is designed to meet or exceed that requirement. If you are unsure whether your specific setup requires a permit or additional safety measures, check with your local building department before starting work.
Choose your section or combination of sections based on your measurement:
- EasyChute Lite-Duty 10 ft Section — $99 — ideal for single-story additions or low-rise work
- EasyChute Heavy-Duty 10 ft Section — $149 — for heavier debris loads on similar drops
- EasyChute 25 ft Section — $277 — two-and-a-half stories in one piece
- EasyChute 50 ft Section — $596 — up to five stories, under 15 lbs folded
Step 2 — Anchor the Top Loops
Every EasyChute section has four woven connection loops at the top — two at the front and two at the back. These are your primary attachment points.
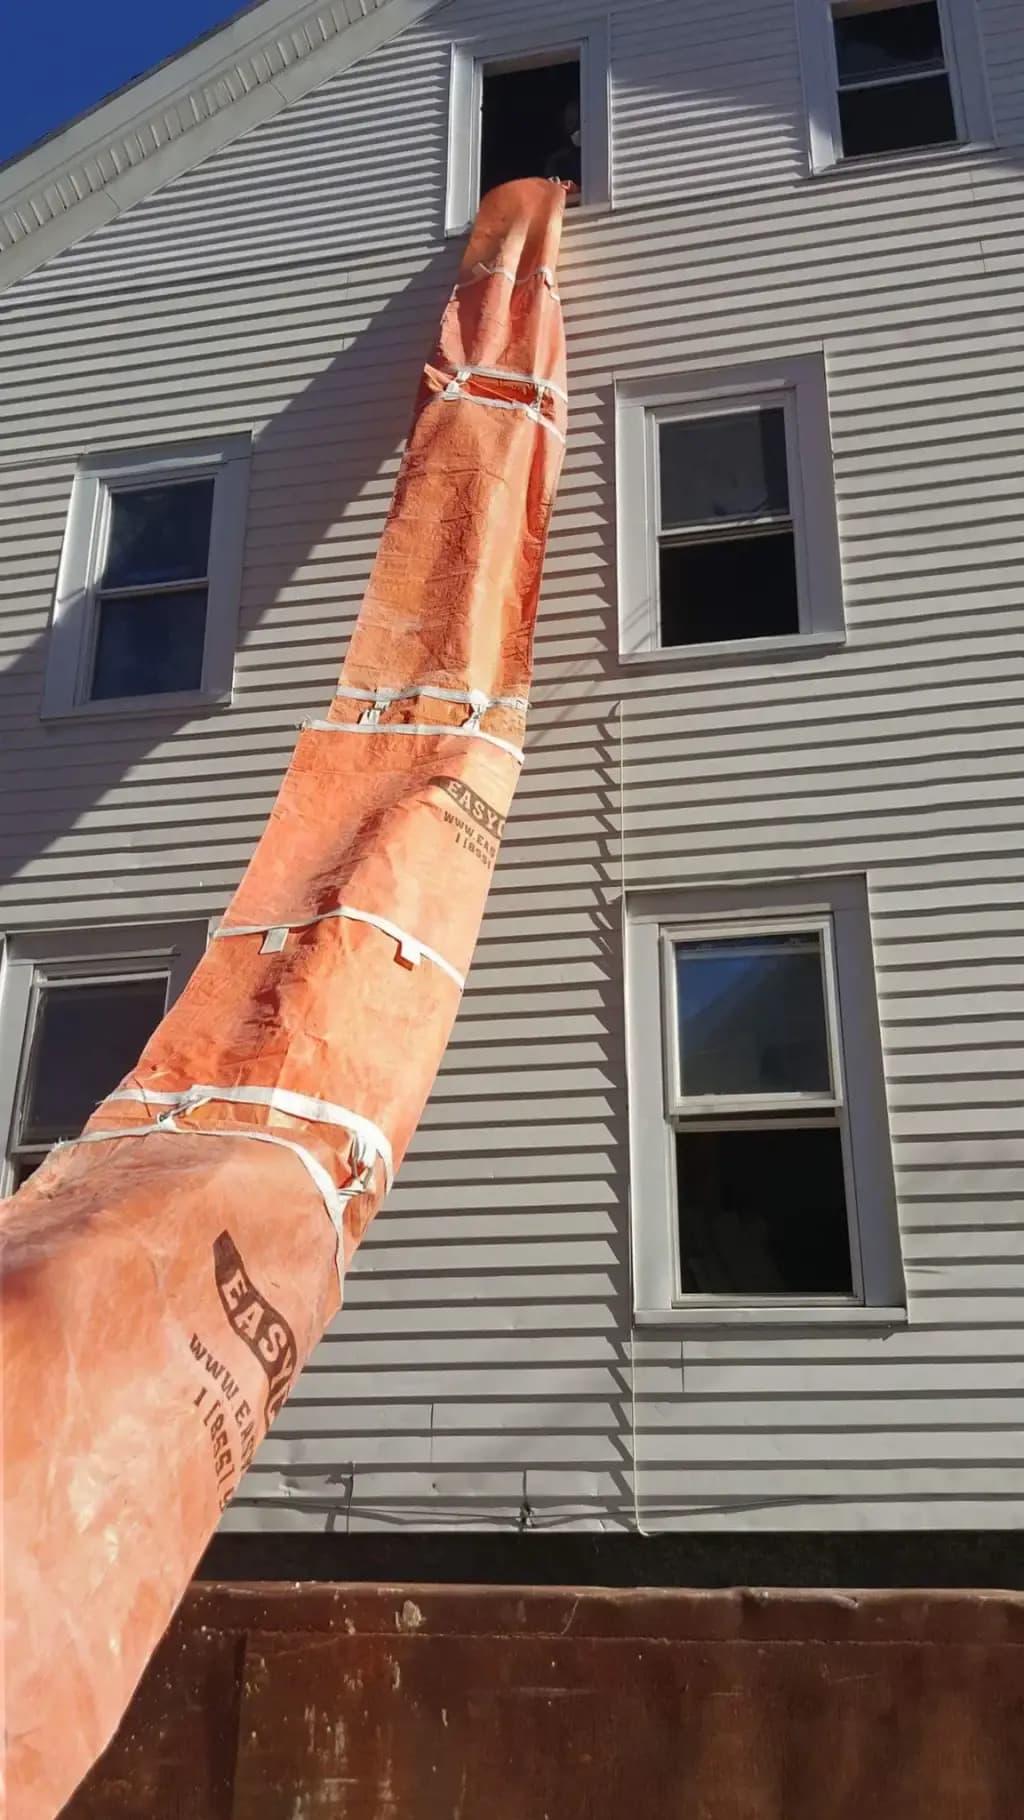
- Unfold the top section and hold it at the anchor point — a window sill, roof edge fascia, scaffold rail, or fire-escape railing.
- Loop each of the four top loops around or over the anchor point. For a window or roof edge, drape the loops over the sill or edge and secure them with carabiners clipped back through themselves or to a crossbar.
- Pull the loops snug so the chute hangs plumb. The chute should hang vertically without swinging far in either direction.
- Give each connection a firm tug before you let go of the chute. If anything feels loose, re-seat the carabiner or shift the loop position.
The chute is designed to hang without frames, hoists, or outriggers, which means setup is genuinely fast. Still, a secure anchor is non-negotiable — check it every morning before the crew starts loading debris.
Step 3 — Connect Additional Sections Loop-to-Loop
If your drop requires more than one section, connect them while the top section is anchored. EasyChute sections connect loop-to-loop using carabiners or quick-connects.
- Hold the second section up to the bottom of the first. The bottom of the first section has four woven loops, and the top of the second section has four matching loops.
- Clip the loops together with carabiners — top loops of the lower section to bottom loops of the upper section. Every joint is designed to overlap by 1.5 feet, which keeps dust and debris inside the chute instead of escaping at the seam.
- Make sure the overlap is fully engaged before releasing the lower section. A loose joint lets debris blow out and creates a dust hazard for anyone below.
- Repeat for any additional sections until the chute reaches the correct length.
Need to fine-tune the length? Use the middle shortening straps built into each section. Pull the strap to gather fabric and reduce the effective length of that section. This is especially useful when your drop does not line up perfectly with a standard section length.
Step 4 — Set Up the Trash-Can Hopper (Optional but Recommended)
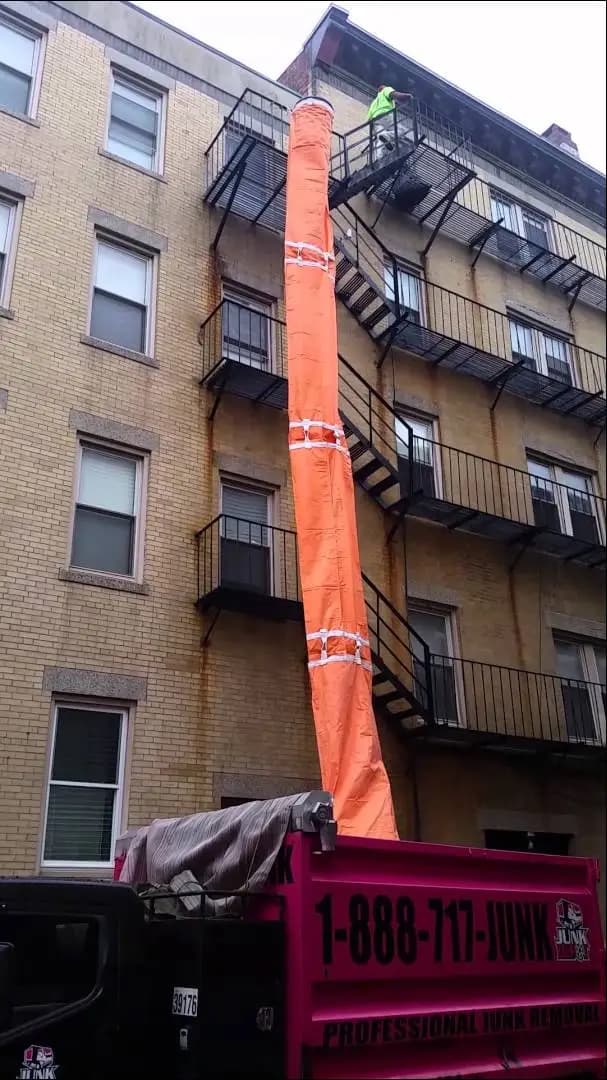
A 32-gallon commercial trash can with the bottom removed makes an excellent hopper at the top of the chute. Slip it over the top opening so the rim rests on the edge of the anchor point or window sill. Workers toss debris into the can and it slides straight down the chute — less dust, less spillage, and a cleaner work area up top.
The hopper is optional, but on roofing tear-offs, drywall demo, or plaster removal, it cuts cleanup time significantly. Make sure the can is stable and cannot tip into the chute opening. If you are working on a roof edge, brace the can against the parapet or secure it to the anchor structure.
Step 5 — Position the Bottom Over the Dumpster
This step requires your ground-level helper.
- Have your helper on the ground guide the bottom of the chute so it hangs directly over the center of the dumpster opening.
- The bottom of the chute should sit a few inches inside the dumpster rim — not so deep that it catches on the sides, and not so high that debris bounces out.
- If the chute is swinging in the wind, have your helper hold it steady or use a short length of rope tied to the bottom loops to anchor it loosely to the dumpster frame.
- Establish a clear drop zone on the ground: no workers, equipment, or bystanders within the fall radius of the chute. Mark it with cones or barrier tape.
Keep the drop zone clear every time debris is being fed into the chute. This is both a common-sense safety rule and a core part of OSHA compliance on any job site using a debris chute. For more on safe construction chute use, see our dedicated guide.
Step 6 — Load Debris and Monitor the Chute During Use
EasyChute is built for the debris you generate every day on a remodel or renovation — drywall, plaster and lath, roofing shingles, wood scraps, and insulation. Feed debris steadily rather than all at once. Dumping a massive load in a single shot can cause a blockage at a connection joint.
- Check each joint visually during the first few loads to confirm the 1.5 ft overlaps are holding and no dust is escaping.
- If the dumpster fills up, pause loading, have the ground crew swap or empty the dumpster, and re-position the chute bottom before continuing.
- Never leave a loaded chute unattended with the anchor unsecured. If you break for lunch or end the day, tie off the top or remove the chute entirely.
How to Take Down and Fold the EasyChute
One of the biggest advantages of the EasyChute system is how quickly it packs away. Here is how to take it down without tangling loops or damaging the woven, coated poly fabric.
- Disconnect the bottom section first. Unclip the carabiners at the lowest joint and pull the bottom section away from the one above it.
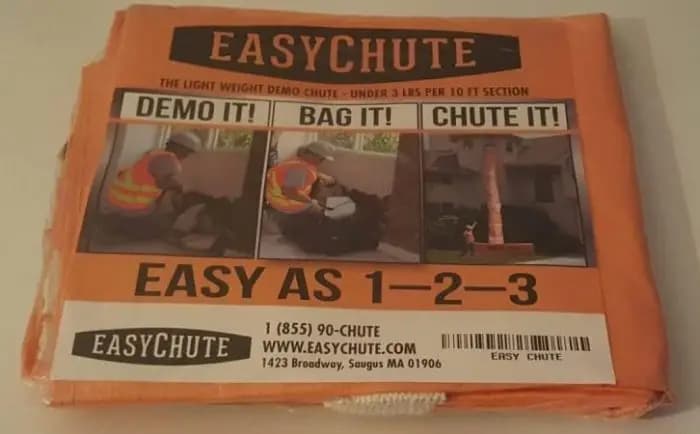
- Fold the bottom section accordion-style along its natural fold lines. A 10 ft section folds small enough to fit in a drawer or a small box — under 3 lbs. A 25 ft section weighs under 8 lbs folded; a 50 ft section weighs under 15 lbs.
- Work your way up, disconnecting and folding each section in order until only the top section remains hanging at the anchor.
- Unclip the top loops from the anchor, fold the top section, and collect all carabiners.
- Store folded sections in a dry location away from sharp edges that could snag the fabric.
Because EasyChute sections are reusable job after job, proper folding and storage extend the life of the system and mean you are ready to hang it again at the next site without any prep work.
Safety Checklist Before You Start Every Day
- Verify the anchor point is secure and has not shifted overnight.
- Inspect each carabiner — gates should snap shut cleanly.
- Confirm the 1.5 ft overlaps at every joint are fully engaged.
- Check that the dumpster is in position and the drop zone is clear.
- Remind the crew that the ground below the chute is off-limits during debris drops.
If you have questions about setup that are not covered here, visit our FAQ page or call us at 855-902-4883, Monday through Friday, 8 AM to 10 PM Eastern. You can also email orders@easychute.com.
Ready to Order Your EasyChute?
Now that you know exactly how to install the EasyChute, getting started is straightforward. Every order ships free to your job site anywhere in the United States. Browse the full selection — from single-story lite-duty sections to 50 ft heavy-duty runs — and order at a fixed price with no surprises.
Shop all EasyChute sections and have your system on the way to your next job site.
Frequently asked questions
What do I need to anchor the EasyChute at the top?
You need a solid structural anchor point such as a window frame, roof edge, scaffold rail, or fire-escape railing. The four woven loops at the top of the first section attach directly to that anchor with carabiners or quick-connects — no frames, outriggers, or rented hoisting equipment required. Always tug each connection firmly before loading debris.
How do I connect two EasyChute sections together?
Each section has four woven loops at the top and four at the bottom. Clip the bottom loops of the upper section to the top loops of the lower section using carabiners or quick-connects. Every joint overlaps by 1.5 feet by design, which keeps dust and debris inside the chute instead of escaping at the seam. Check the overlap is fully engaged before releasing the lower section.
Do I need a hopper at the top of the chute?
A hopper is optional, but it makes loading much easier and cleaner. A standard 32-gallon commercial trash can with the bottom removed works perfectly — slip it over the top opening of the chute so workers can toss debris directly into it. This is especially helpful on roofing tear-offs and plaster demolition where loose material tends to scatter.
When is a trash chute legally required on a job site?
Under OSHA 29 CFR 1926.252(a), an enclosed chute must be used when material is dropped more than 20 feet to any point outside the exterior walls of a building. EasyChute is designed to meet or exceed that requirement. For any local permit rules or additional requirements specific to your municipality, check with your local building department before starting work.
How do I fold and store the EasyChute after the job?
Disconnect sections from the bottom up, unclipping carabiners at each joint. Fold each section accordion-style along its natural fold lines — a 10 ft section folds small enough to fit in a drawer and weighs under 3 lbs. Store folded sections away from sharp edges that could snag the woven fabric. EasyChute is reusable job after job, so proper storage keeps it ready for the next site.